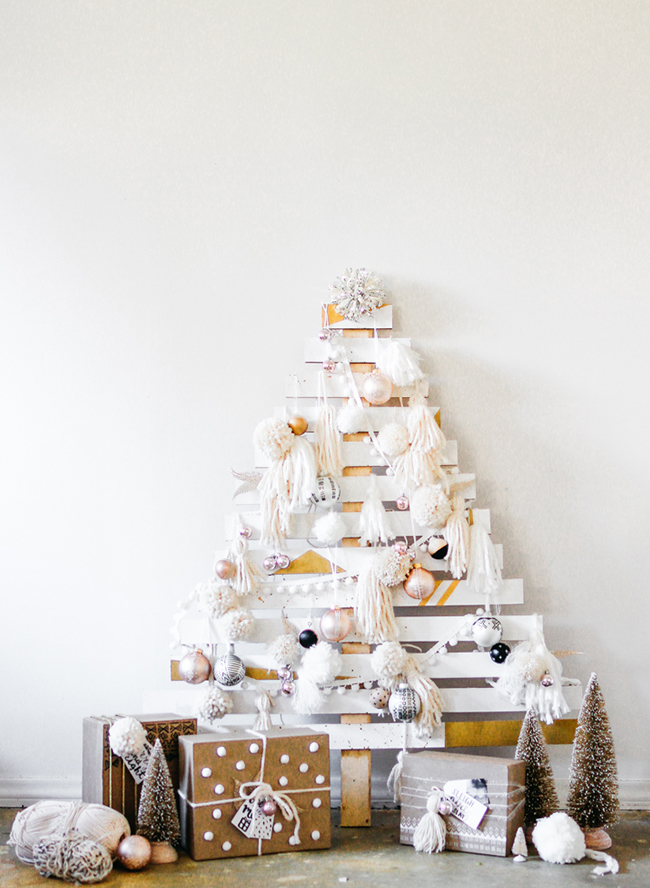
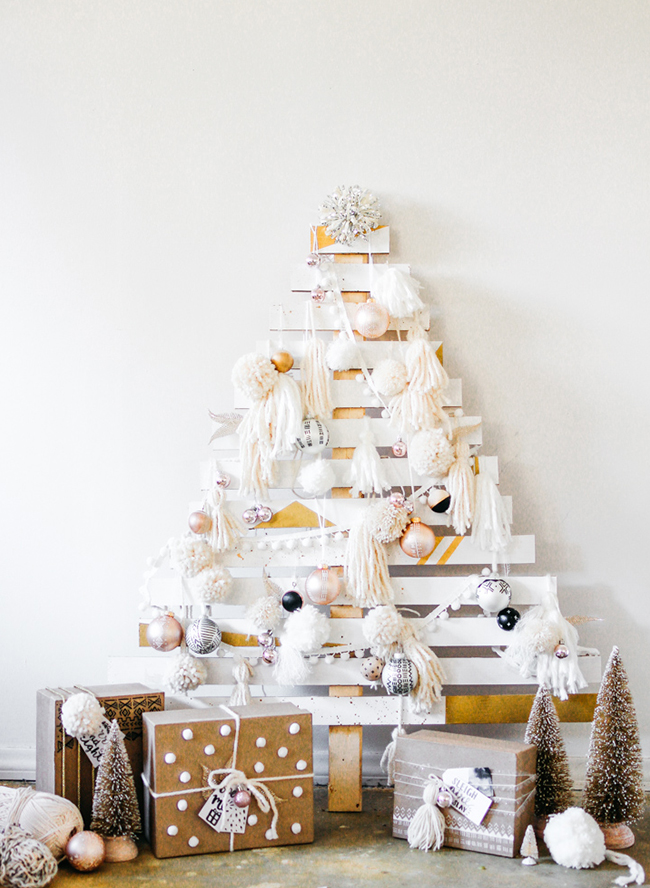
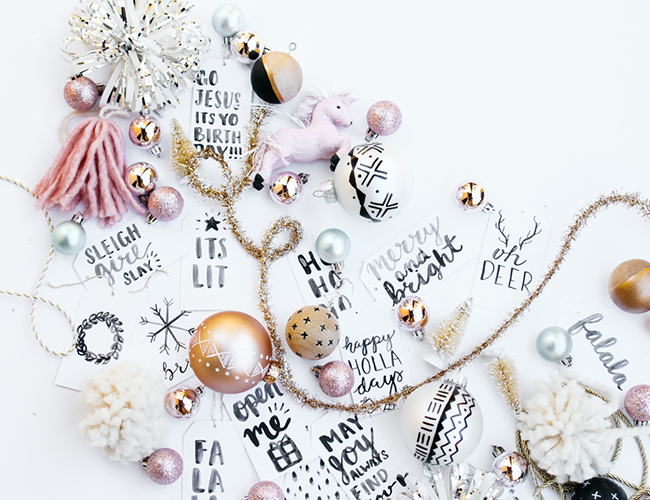
Warning, this super cute DIY looks far more difficult than it is! Much to our delight, this DIY Wooden Christmas Tree strung with wooden and mud cloth patterned DIY ornaments is totally doable (in time for Christmas too!). The masterpiece, courtesty of Alexis at The Shift Creative, serves as a beautiful centerpiece for your home in place of, or in addition to your real/artificial Evergreen tree. If you love modern décor, or a good project, this DIY is for you! Here’s the low down from Alexis….
DIY Scandivian Christmas Tree
No tree? No problem! We have created a faux tree that is perfect for the minimalist, the creative, and the budget savvy! The best part – it won’t die! (Is Christmas a year round a thing? Cause it should be!)
The Goods:
2×1 pieces of wood
Painters Type
Nail Gun
Miter Saw
White paint
Gold Paint
Small Paint brushes
Gold Spray Paint
A variety of natural colored yarn
Ornaments (see how to make these ones below)

Directions:
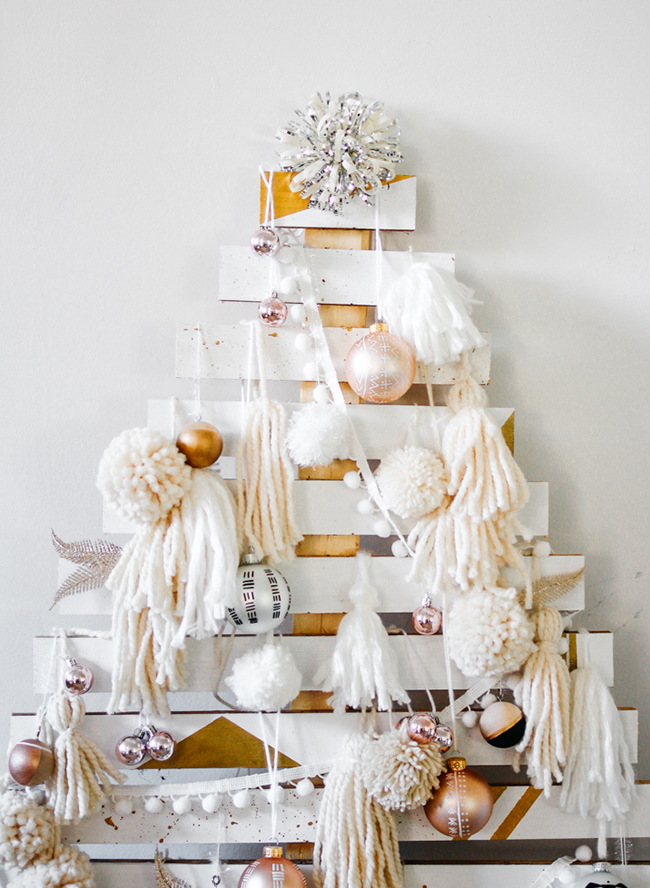
1. Cut your wood – Start by cutting a 6 inch piece for the top of your tree. Cut 12 more pieces of wood, adding two inches to each piece you cut to create the tapered tree shape. Next, cut a piece for your base. This can very in length depending on how tall you want your tree (you can adjust the size of your tree by cutting more or less pieces of wood).
2. Use the nail gun to attach wood pieces on to the base piece. Seperate each piece of wood evenly, about one inch a part.
3. Paint your tree white.
4. Once the white paint is dry add gold detailing! We used painters tape and gold spray paint to create clean lines and geometric shapes. Use the gold paint to splatter or create more intriquite details.
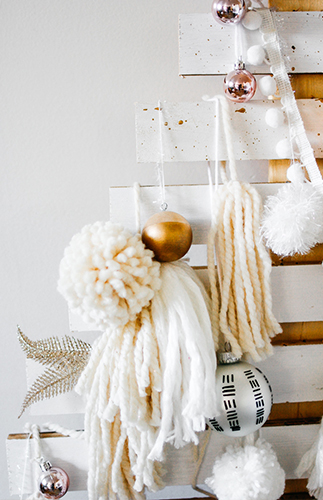
5. Decorate your tree! Utilize yarn to create pompoms, garlands and tassels for the tree. We added our own handmade ornaments. Don’t be afraid to layer shapes and textures.The more the merrier to create this modern boho look!
You are all done! This is such an easy and fun project that can be customized to your color palette!

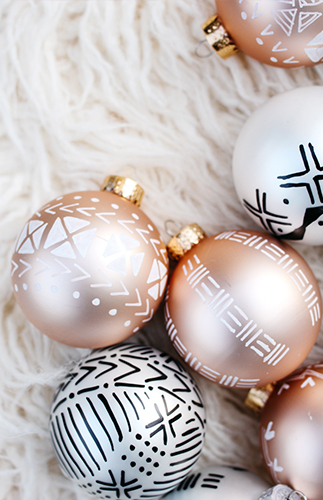
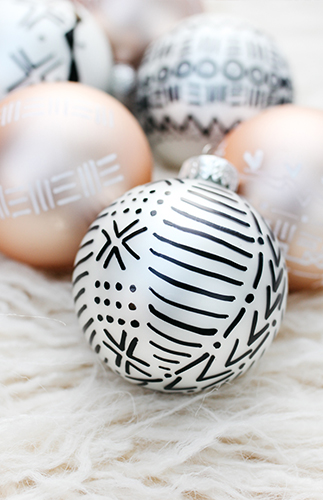
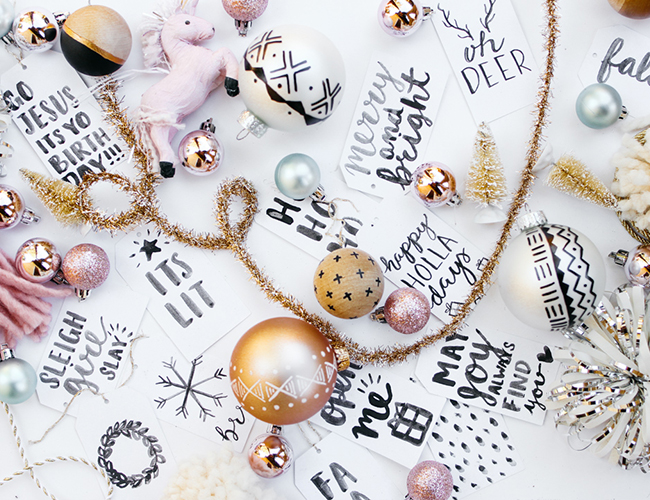
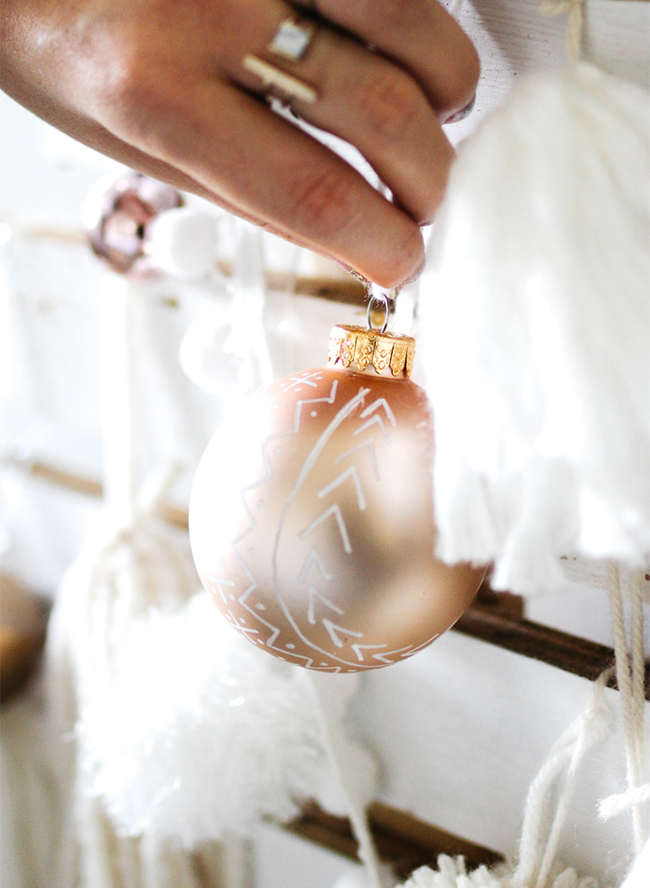
DIY Mud Cloth Ornaments
The Goods
Matte Ornaments in solid colors
Black and White sharpee paint pens
Directions
1. Find inspiration for your mud cloth patterns.
2. Draw out your patterns on scratch paper.
3. Copy your finalized patterns over onto the ornaments using the sharpee.

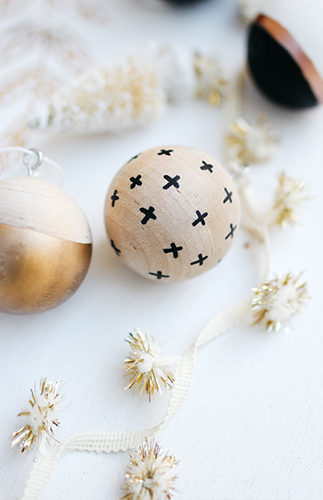
DIY Wood Ornaments
These ornaments require just a tad more work, but boy, do we love how they turned out.


The Goods
Wooden balls (we used 1.5″ but think it would be fun for you to mix up sizes)
Sharpee pens
Gold Liquid Leaf
Black and white acrylic or wood paint
Painters Tape
Screw Eye Hooks
Hammer
Yarn
Directions
1. Start by putting the eye hooks into the wooden balls. It can be a bit tricky to get the the hooks screwed into the wood. We first used a hammer to get the screws started before turning the screws. We promise this is the hardest part — it’s all easy from here!
2. Use yarn to hang the individual ornaments between two surfaces. This will allow you to paint freely on all sides without smudging the paint.
3. Get creative! Use the painters tape to section off areas you want to paint. This will create a clean cut line. Mix up your angles and colors! Just don’t forget to let your layers dry before adding more tape and paint.
4. Use the paint pens for more intricate details and patterns.


This is worthy of Whoville!! If you recreate this fun tree and/or ornaments, be sure to show us how yours turn out by tagging #celebratewithIBT on Instagram!