These pretty paper kites on our DIY blog today are super simple to create and the perfect decor for a classroom, kid’s room, or nursery! We DIY-ed them in 5 simple steps and were giddy over how cute they came out! With just card stock, streamers, and paint, these DIY kites won’t send you to 12 different craft stores to gather supplies (we’ve been there, done that). Their ease will please you and their prettiness will require you to put them on display. Our pink, gold, and white combo is perfect for a little girl’s room or nursery but you could customize your own color scheme or pattern to fit your desire!
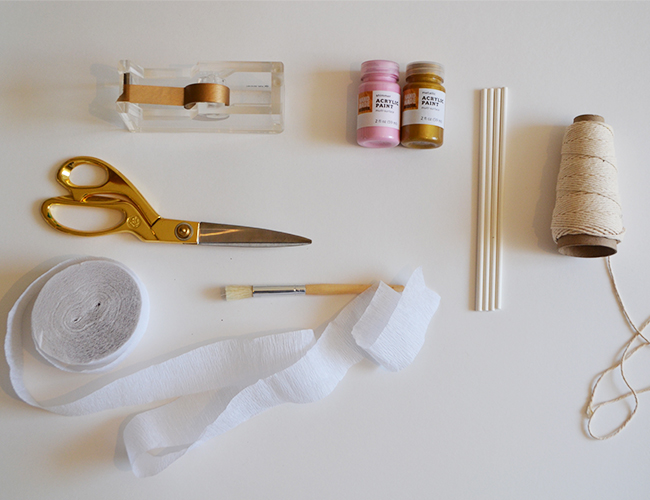
What You Need:
Card stock
Paint (any colors!)
Clear tape or washi tape
Skewers
Roll of streamers
Scissors
Instructions:
1. Lay out your card stock on a table or counter and cut it into a square. You can make your kite however big or small you would like.
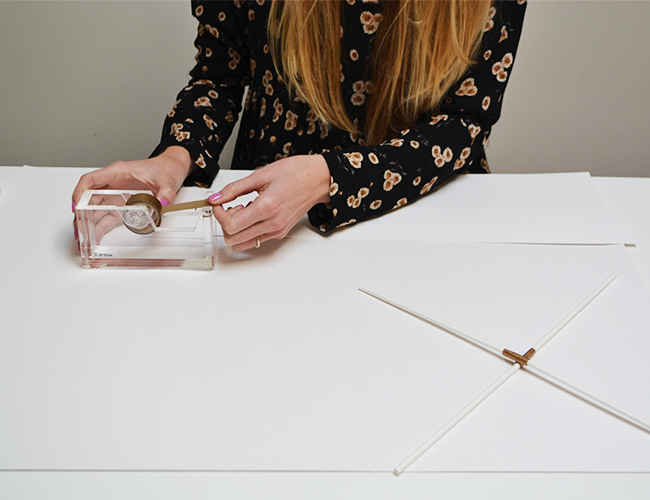
2. Take your skewers and cross them within the square to give the kite structure. Tape them together at the cross, as well as onto your paper.

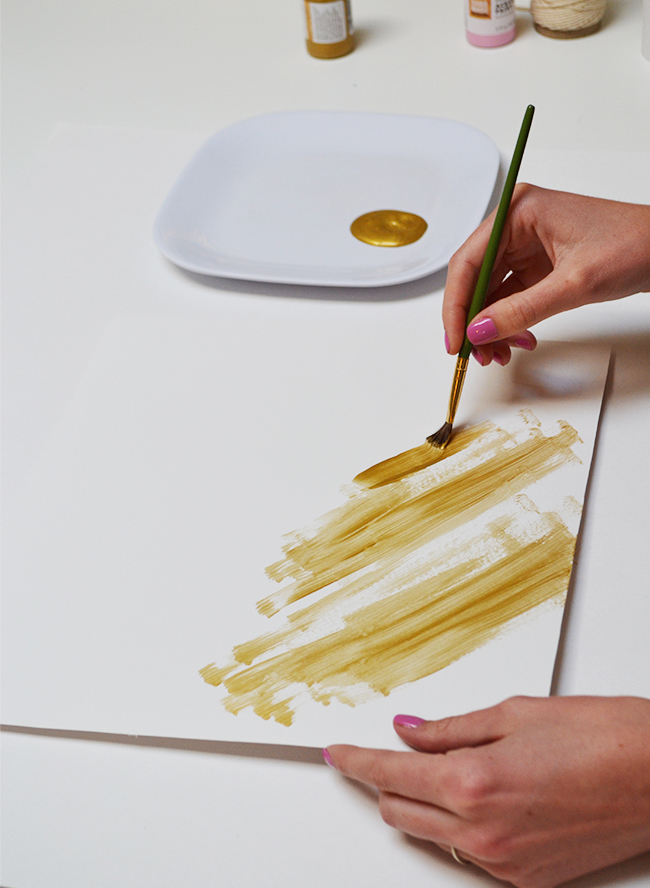
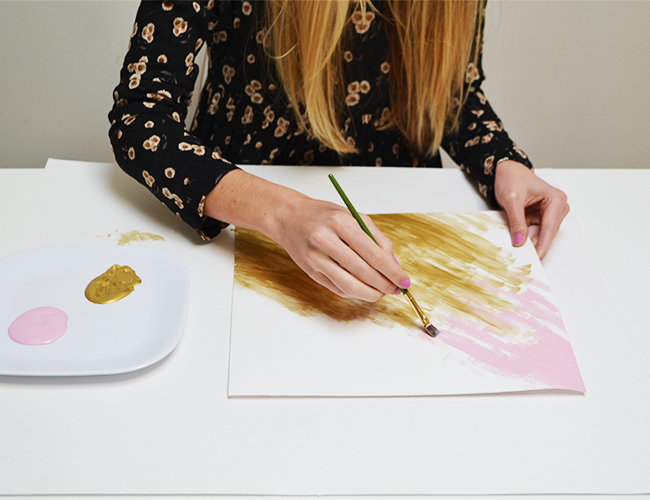
3. Pour some of your paint onto a plate. You may use as many colors as you would like. On the top of your kite (side without skewers), paint any design. You can paint it one solid color, bleed two together, like we did, or make a pretty custom pattern!

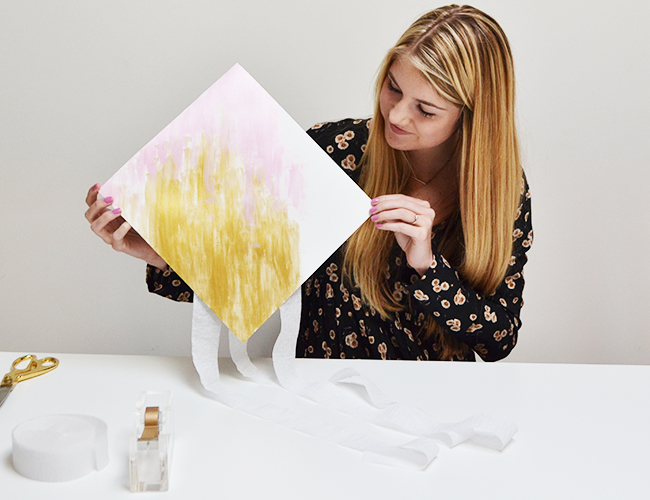
4. While the paint is drying, cut three three-foot streamers – we chose white to go with our pastel/ethereal theme.

5. Once your paint is dry, flip your kite back over and tape your streamers at one of the four corners. YAY, you’re done!


See More on Momtastic!