This DIY whiteboard is the perfect office accessory that we’re sure will come in handy! We took whiteboard adhesive and created a space on a white wall in our office to place it. Now it’s a convenient place to put notes and happenings in the office. With simple gold striped Washi tape we made our whiteboard stand out (and match our office decor) but it can easily go unnoticeable if you leave it off! After seeing how easy it was to create the handy dandy whiteboard, we want to put them up everywhere! Use it as a place for your wifi password, grocery lists, or to-dos in your home as well! Read more and Momtastic!
What You Need:
Whiteboard adhesive
Washi tape
Scissors
Level

Directions:
1. Pick a space and height for your whiteboard. Using a level, pencil a line on the wall where you want the top of your board to be.


2. Cut your whiteboard adhesive the desired width for your wall.

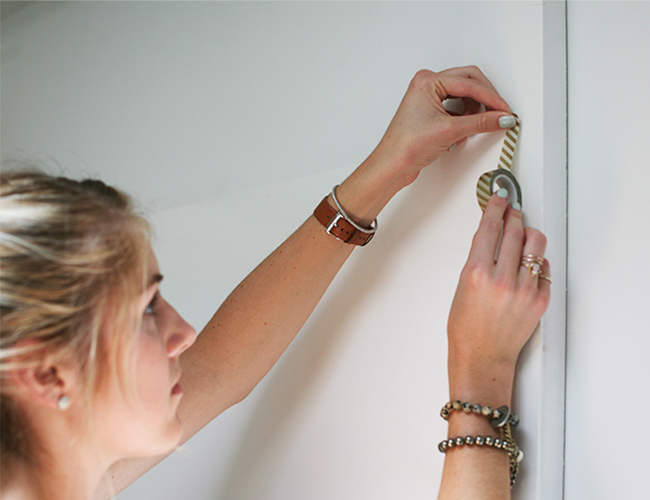
3. Peel back the plastic in the center of the adhesive and align the top of the adhesive with the line you sketched on the wall. It’s easiest to start in the middle and press the adhesive against the wall slowly and evenly in order to avoid bubbles in the strip!

4. Rub the adhesive flat and make sure it is all sticking to the wall, and then clean off any marks you made so you have a fresh clean slate!

5. Outline the edges of the whiteboard with washi tape (we chose a gold diagonal striped tape, but there are SO many options!) and put your new whiteboard to use!