Let’s be real, when was the last time you ran out of a nail polish? With our extensive collection, the answer is never – so we decided to use them to create these DIY marbled coasters! We came up with a few color schemes to try this technique out on and LOVE how they turned out! Now, we have the perfect coasters for a party or just to liven up our coffee table!
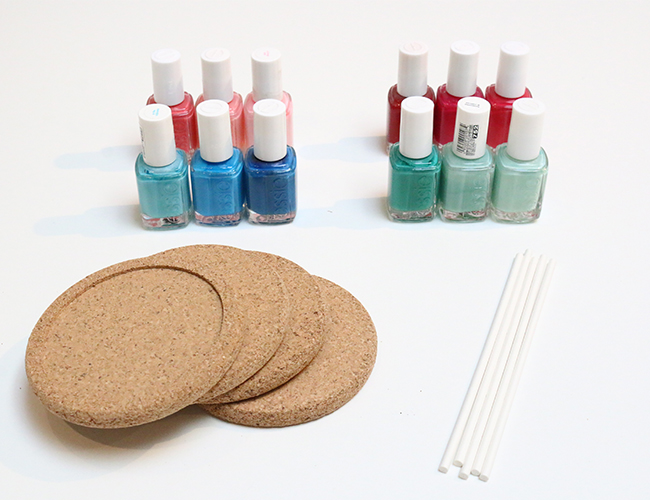
What You Need
2-3 shades of nail polish for each coaster
Cork coasters
Water
Containers
Stirrers
Directions:
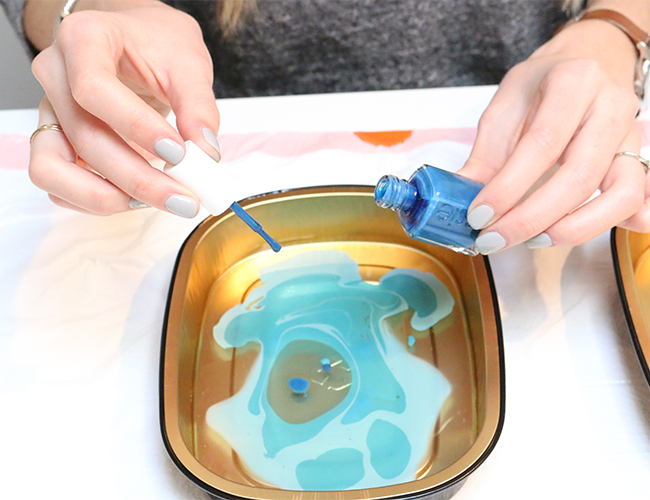
1. Fill your containers with a thick layer of water.
2. Pick a color scheme, and pour (or droplet) each different shade of polish into the water. They’ll start to run together and form a fun pattern already!
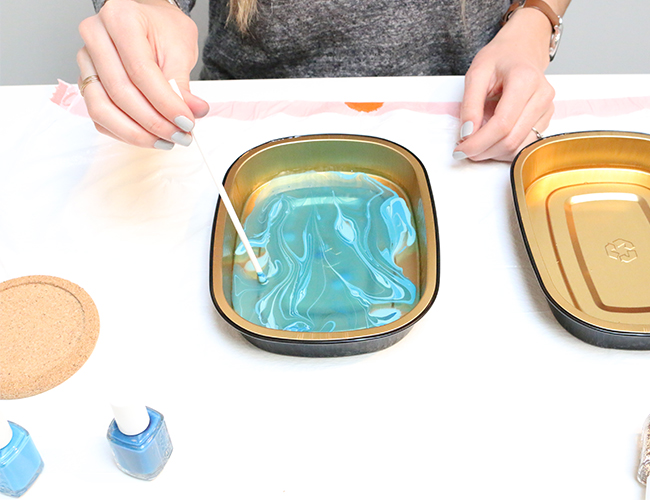
3. Stir your polish. Whatever design you make in the water will be the exact design that sticks to your coaster, so get creative with swirls or dots! We dragged our stirring stick through the nail polish to create the cool ikat pattern!
4. Lightly dip the front face of the coaster onto the layer of nail polish sitting on the water. The nail polish creates a a shield so your coaster won’t sink in! Push the coaster into the color concoction for a few seconds.

5. Slowly lift the coaster from the water and let air dry. You’re done! That easy!

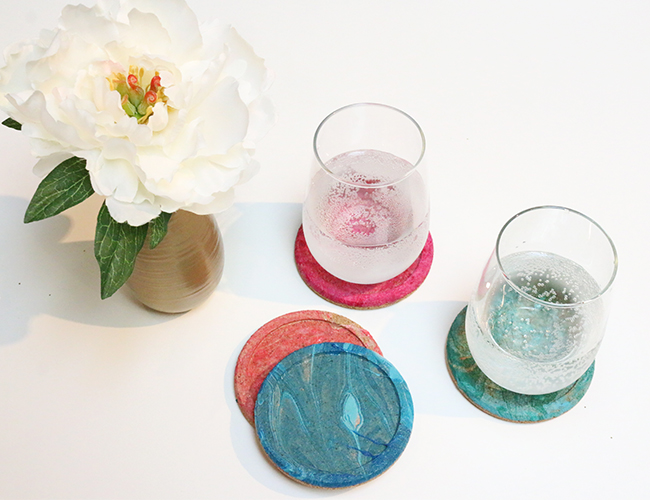
Check out this DIY on Momtastic Too!