This is a sponsored post written by me on behalf of The Bouqs Co. Weddings & Events. All opinions are 100% mine.
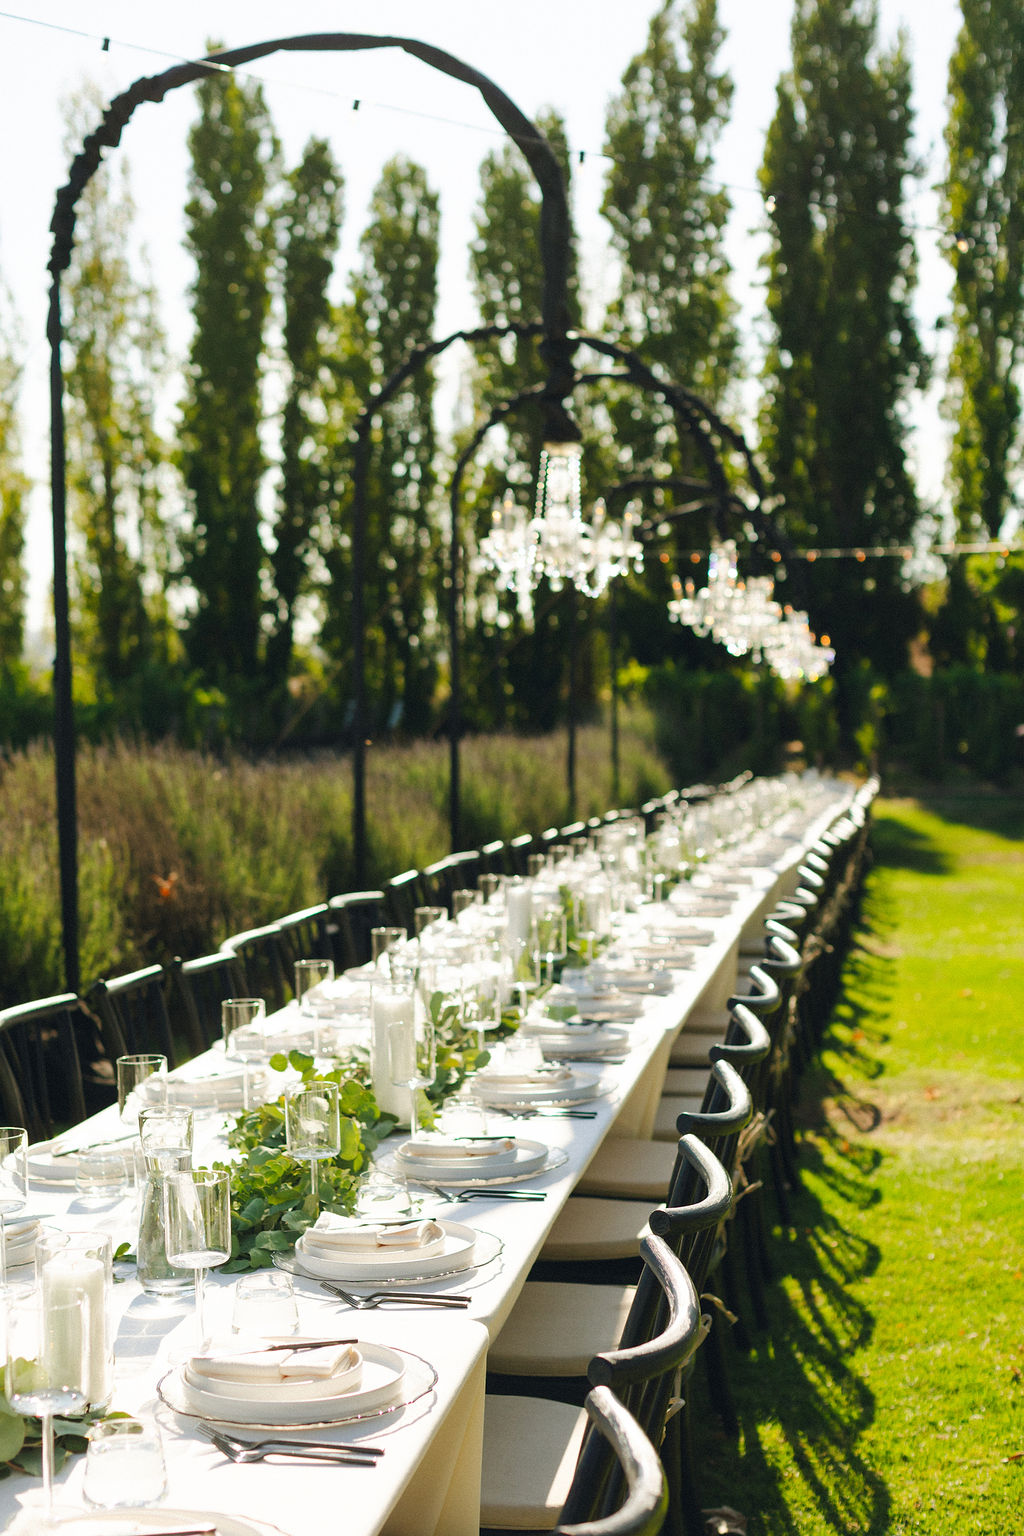
If there has ever been a time when eloping is popular, it’s now. With the recent wedding industry rapidly changing, couples are figuring out more ways to make their big day just as special, while dedicating even more time and money to the details. One of those details that deserve all the attention is the elopement florals. Today on the blog, we want to share a complete guide to DIY elopement florals because we firmly believe that this is an experience that would add to your big day! Not to mention, the process is simpler than you may think. That being said, we will be detailing everything you need to know to create a jaw-dropping bridal bouquet and groom’s boutonnière.


In order to get a quality bridal bouquet, you are going to need quality flowers. For us, there was no question who we wanted to purchase our flowers from. We went with The Bouqs Co. Weddings & Events, and we could not recommend them more! From the moment we opened the box, we knew we made the right decision. The flowers were so fresh thanks to their direct-from-the-farm delivery service. Not to mention the lovely rose fragrance that everyone knows and loves filled our house with warmth. Now that we have established where to get your elopement florals, it’s time to get to the steps of action!
The Bouquet
Step One
The very first thing you want to do when receiving the florals is open up the box immediately and clean your stems. We recommend getting vases; or buckets large enough that the flowers and greenery have space to breathe. Fill the vases/buckets generously with water and some flower food. Next, cut your stems at a 45-degree angle to ensure the florals are able to drink as much water as possible. Make sure you have all the supplies ready to go!

Step Two
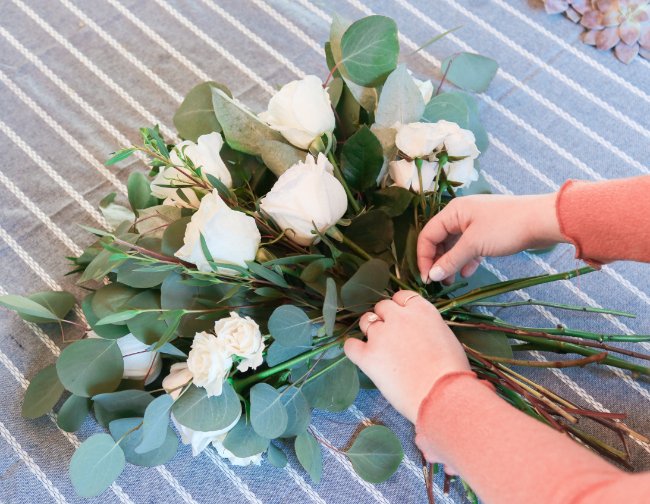
Now it’s time to start your bouquet! We recommend starting the base of your bouquet with greenery. Use a good mix of different textures and heights to ensure the bouquet blends and contrasts smoothly! We went with Bouqs Weddings’ Adore Wedding Collection which had everything we could have needed to make this bouquet as beautiful as possible. It also had enough flowers to make a bridesmaid bouquet and a centerpiece, in addition to the bridal bouquet and boutonnière.

Step Three
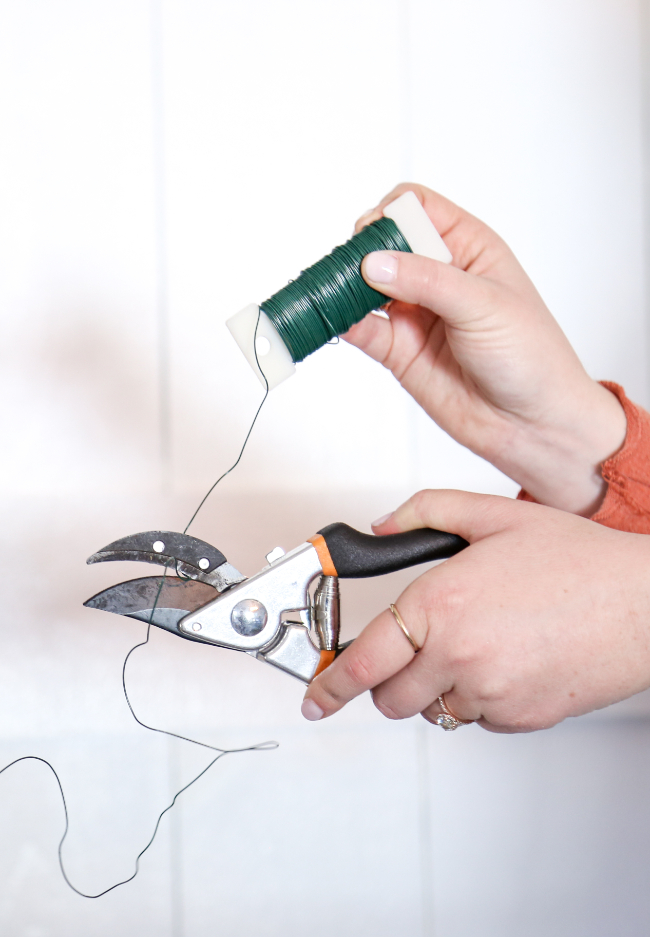
Next, you are going to start adding in the roses! This is the fun part because you will start to get to see the bouquet come together. Stagger the different colored roses so that there is a good mix of height, size, and color. Also, keep an eye out for thorns, and be sure to use your clippers to cut them off the stems so that you don’t poke yourself! Once you like the way the bouquet looks, then it’s time to tie it off with your floral wire. Be sure to keep the wire loose enough that it does not damage the flower stems.
Step Four
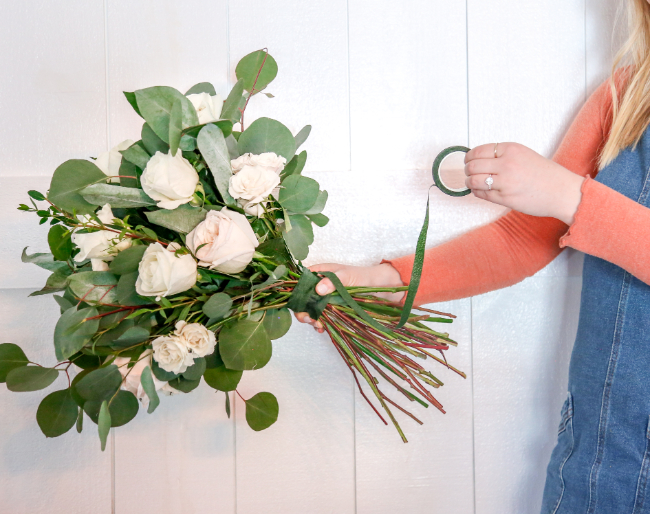
Once you have your bouquet steady and loosely wrapped in the wire, it’s time to use some floral tape to make your stems more uniform and the bouquet stronger. Simply wrap your bouquet in the tape until you hit the length you want and wrap the excess up inside the wrapping. Then, cut the bottom straight across and put the bouquet in water until you are ready for the next step.

Step Five
The last step has to be the one we enjoy the most – it’s time to wrap your bouquet in ribbon! This is the final touch to complete your bouquet, and it is so fun! Cut your ribbon with enough excess to wrap around the bouquet multiple times. Use your pins to keep the first part of the wrap from moving. Work your way down the stems until you hit the bottom of the bouquet. Twist the excess ribbon and pin into the back of the bouquet. And, drumroll please… you have just made your own bridal bouquet!

The Boutonnière
Step One
Even though it may seem more challenging to create a stunning boutonnière than a bouquet, we definitely think this will blow you away with how simple it is. The first step is to arrange your boutonnière how you would want it. We used the spray roses and some of the smaller greens.

Step Two
Once you like the way it looks, lock it in place with your floral wire. Next, you are going to cut the bottom of the boutonnière at your desired length below the wire. Once your boutonnière is cut, then it’s time to tape it off. You will want to tape off the boutonnière with your floral tape to finish off this step.

Step Three
Finally, it’s time to wrap your bouquet in your ribbon! This process looks similar to how you would do it for the bouquet but on a smaller scale. The first step to do this would be to cut the ribbon and then pin it to the back of the boutonnière to keep the ribbon in place. Then wrap the boutonnière around a couple of times until the ribbon is how you want. Twist the ribbon and tuck it into the top of the boutonnière. Add a pin to the back to make it easy to pin it to the suit. And just like that, you are all finished!

Shop The Supplies
After reading how to DIY your elopement florals with the help of Bouqs Wedding Site, do you feel ready to get to work?
If you are looking for some more micro wedding and elopement planning, then be sure to check out our complete guide to virtual wedding planning!