We have the prettiest DIY we’ve ever made on our lifestyle blog today. With far too many teacups to use (because, let’s face it, we revert to mugs every time) we decided to make DIY teacup candles. Why not learn to make your own candles right? And get to pick the perfect way to present them – matching them to your favorite dishes.
What You Need:
Teacups
Tea light candles
Wicks
Long Sticks
A stove
A pan
Scissors

1. Heat a pan on your kitchen or portable stove.
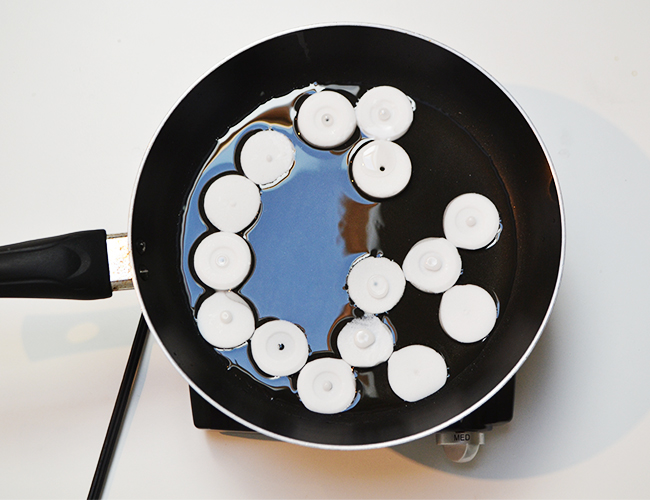
2. We used tea light candles so we first removed the candles from the tin holder and took out the wicks. The amount of candles needed will vary depending on how many teacups you’re planning to create and what kind of candles you are melting. Then we placed them in the pan to melt.
3. As the wax is melting, place one of your teacups into your bowl. This is so the wax doesn’t spill everywhere when you are pouring it into the teacup. Once it is completely melted, pour the wax into your teacup. Don’t worry if some spills into the bowl. Just make sure to quickly remove the teacup so it doesn’t dry and stick.
4. Wrap the top part of your wick around the skewer. Stick the bottom end of the wick into the candle and rest the skewer on the top of the teacup. This makes sure the wick dries upright!


5. Let your candle dry. Give yourself between thirty minutes and an hour for the wax to completely dry.
Unwrap your wick from the skewer and cut it shorter, but leave enough wick for it to be lit.

See more on Momtastic